
Cell Plan & App Setup
Stuck? - First App Sign In
Stuck? - Device Pairing
Here you will find resources to help you get up and running smoothly.
While we strive to make our documentation exhaustive, sometimes you just need help. Do not hesitate to call or email us at (203)-212-8828, support@bilgebuddy.io
Getting Started
Setting up your first BoatSense device involves a few simple steps.
Purchase a BoatSense device:
With a cell plan if you plan to start using right away.
Without a cell plan if you plan to use in the future. Cell plans start at date of purchase.
Install the BoatSense device on the boat (detailed instructions below!).
Purchase a cell plan when you want to start using the BilgeBuddy app. Monthly and Annual cell plan available, no activation, cancellation, or reactivation fees. Only pay when you need.
Download the BilgeBuddy app & configure your account:
App Store (Apple), Google Play (Android) or web app (PC/Mac/Linux).
Create a new BilgeBuddy app account with the same email as your cell plan purchase.
Create your first boat profile.
Pair the device to the boat profile.
Installing & Configuring the App:
Create an account in the Shop using a web browser & purchase a cell plan if you haven’t already.
Download the app:
from your device’s App Store (Apple) or Google Play (Android).
bookmark the web app on your browser (PC or Mac).
Create a new account using the same email you used at checkout for your cell plan. You will need to make a new password. This account is different than your store account but must share the same email.
You will need to enter your confirmation code from your subscription order.
Complete your account profile.
Create your first boat: Settings>Boats>Add Boat, some selections in the boat profile drive alert logic.
(Optional) Customize your preferences: Settings>Boats>[Boat]>Update Boat, selections will toggle and alter some functionality and alert logic. We recommend keeping these as is for now. You can change them once you understand how you want BoatSense device to work for you.
(Optional) Customize your notifications: Settings>Boat>[Boat]>Update Boat>Alerts, selections will toggle what alerts you receive on your boat. We recommend keeping these as is for now. Some alerts may not be applicable to your boat’s situation or you may not want notifications every time someone wakes your boat!
Pair the device to a boat profile in your app: Settings>Boats>[Boat]>Register Device or Settings>Devices>Register Device
Add Device to Boat>Register Device>Scan QR Code on the BoatSense device OR
Add Device to Boat>Register Device>Enter Manually the 5 digit code on the BoatSense device (i.e. “00101”) OR
Select an existing device from your Devices list.
Enter the activation code found on the instructions card and the back of your device. This is to preserve your privacy and stop bad actors from “stealing” your serial number. If you lost your code or purchased a device/boat with from an existing customer email support@bilgebuddy.io or call/text 203-212-8828.
Installing the Device
What you will need:
Wire strippers (to prepare wires for splicing)
Lighter (to splice wire with heat activated splices)
What we provide:
BoatSense device with integrated wire harness/high water sensor
Screws (to secure the device & high water sensor to the boat)
Heat shrink/solder butt connectors (for splicing)
Zip ties (wire management)
Wire diagrams for automatic pumps & manual+float pumps


Manual Pump with Float Switch Installation:
If you do not have a bilge pump WITH a float switch or an automatic bilge pump you must install one to get the most out of the BoatSense device. Additionally the BoatSense device expects the bilge system circuit to bypass the battery shutoff switches, if not the device will not charge and you will have a very short BoatSense device experience. Both of these are best practice and the BoatSense device is designed to work with best practice systems.
It is recommended to disconnect the battery during all electrical jobs.
Clean the bilge so the BoatSense device and high water sensor are installed on clean surfaces.
Install the BoatSense device on a high surface within the bilge (see picture).
Above the water line to maximize cellular signal.
Close enough to the pump and float for the wire harness to reach.
High enough to keep the device above water in almost all situations.
We recommend adhesive strips (provided) on a horizontal surface.
For a more permanent installation, screws can be used to mount the device directly to the fiberglass (best for vertical installations). Use sealant.
Mount the high water sensor on vertical surface 6-12'“ above the auto-float (see picture). Remove the red shipping stopper.
Connect the BoatSense device black negative wire to a negative plate or the negative pump wire.
Cut the two wires to the float switch.
Splice the orange BoatSense device wire to the circuit’s live/auto wire (upstream, not to the float).
If necessary, using a multimeter, find which of the two upstream wire (not to the float) is the live wire from the battery.
Hold the power button to for a few seconds to power the BoatSense device as a check.
Splice the brown BoatSense device wire to the other upstream wire (circuit’s manual switch wire).
Splice the dark and light blue BoatSense device wires each to a separate wire leading back to the float.
Test that the manual switch, auto-float and high water sensor all turn on the pump.


Automatic Pump Installation:
If you do not have a bilge pump WITH a float switch or an automatic bilge pump you must install one to get the most out of the BoatSense device. Additionally the BoatSense device expects the bilge system circuit to bypass the battery shutoff switches, if not the device will not charge and you will have a very short BoatSense device experience. Both of these are best practice and the BoatSense device is designed to work with best practice systems.
It is recommended to disconnect the battery during all electrical jobs.
Clean the bilge so the BoatSense device and high water sensor are installed on clean surfaces.
Install the BoatSense device on a high surface within the bilge (see picture).
Above the water line to maximize cellular signal.
Close enough to the pump and float for the wire harness to reach.
High enough to keep the device above water in almost all situations.
We recommend adhesive strips (provided) on a horizontal surface.
For a more permanent installation, screws can be used to mount the device directly to the fiberglass (best for vertical installations). Use sealant.
Mount the high water sensor on vertical surface 6-12'“ above the pump (see picture). Remove the red shipping stopper.
Connect the BoatSense device black negative wire to a negative plate or the negative pump wire.
Cut the live/auto wire (typically brown) to the pump.
Splice the orange BoatSense device wire to the circuit’s live/auto wire (upstream, not to the pump).
If necessary, using a multimeter, test that the wire is the live wire from the battery.
Hold the power button to for a few seconds to power the BoatSense device as a check.
Splice the dark blue BoatSense device wire to the pump end.
Cut the non-live/manual (typically brown/white) wire to the pump.
Splice the brown BoatSense device wire with both ends of the original wire.
Terminate/cap the light blue BoatSense device wire.
Test that the manual switch, auto-float and high water sensor all turn on the pump.

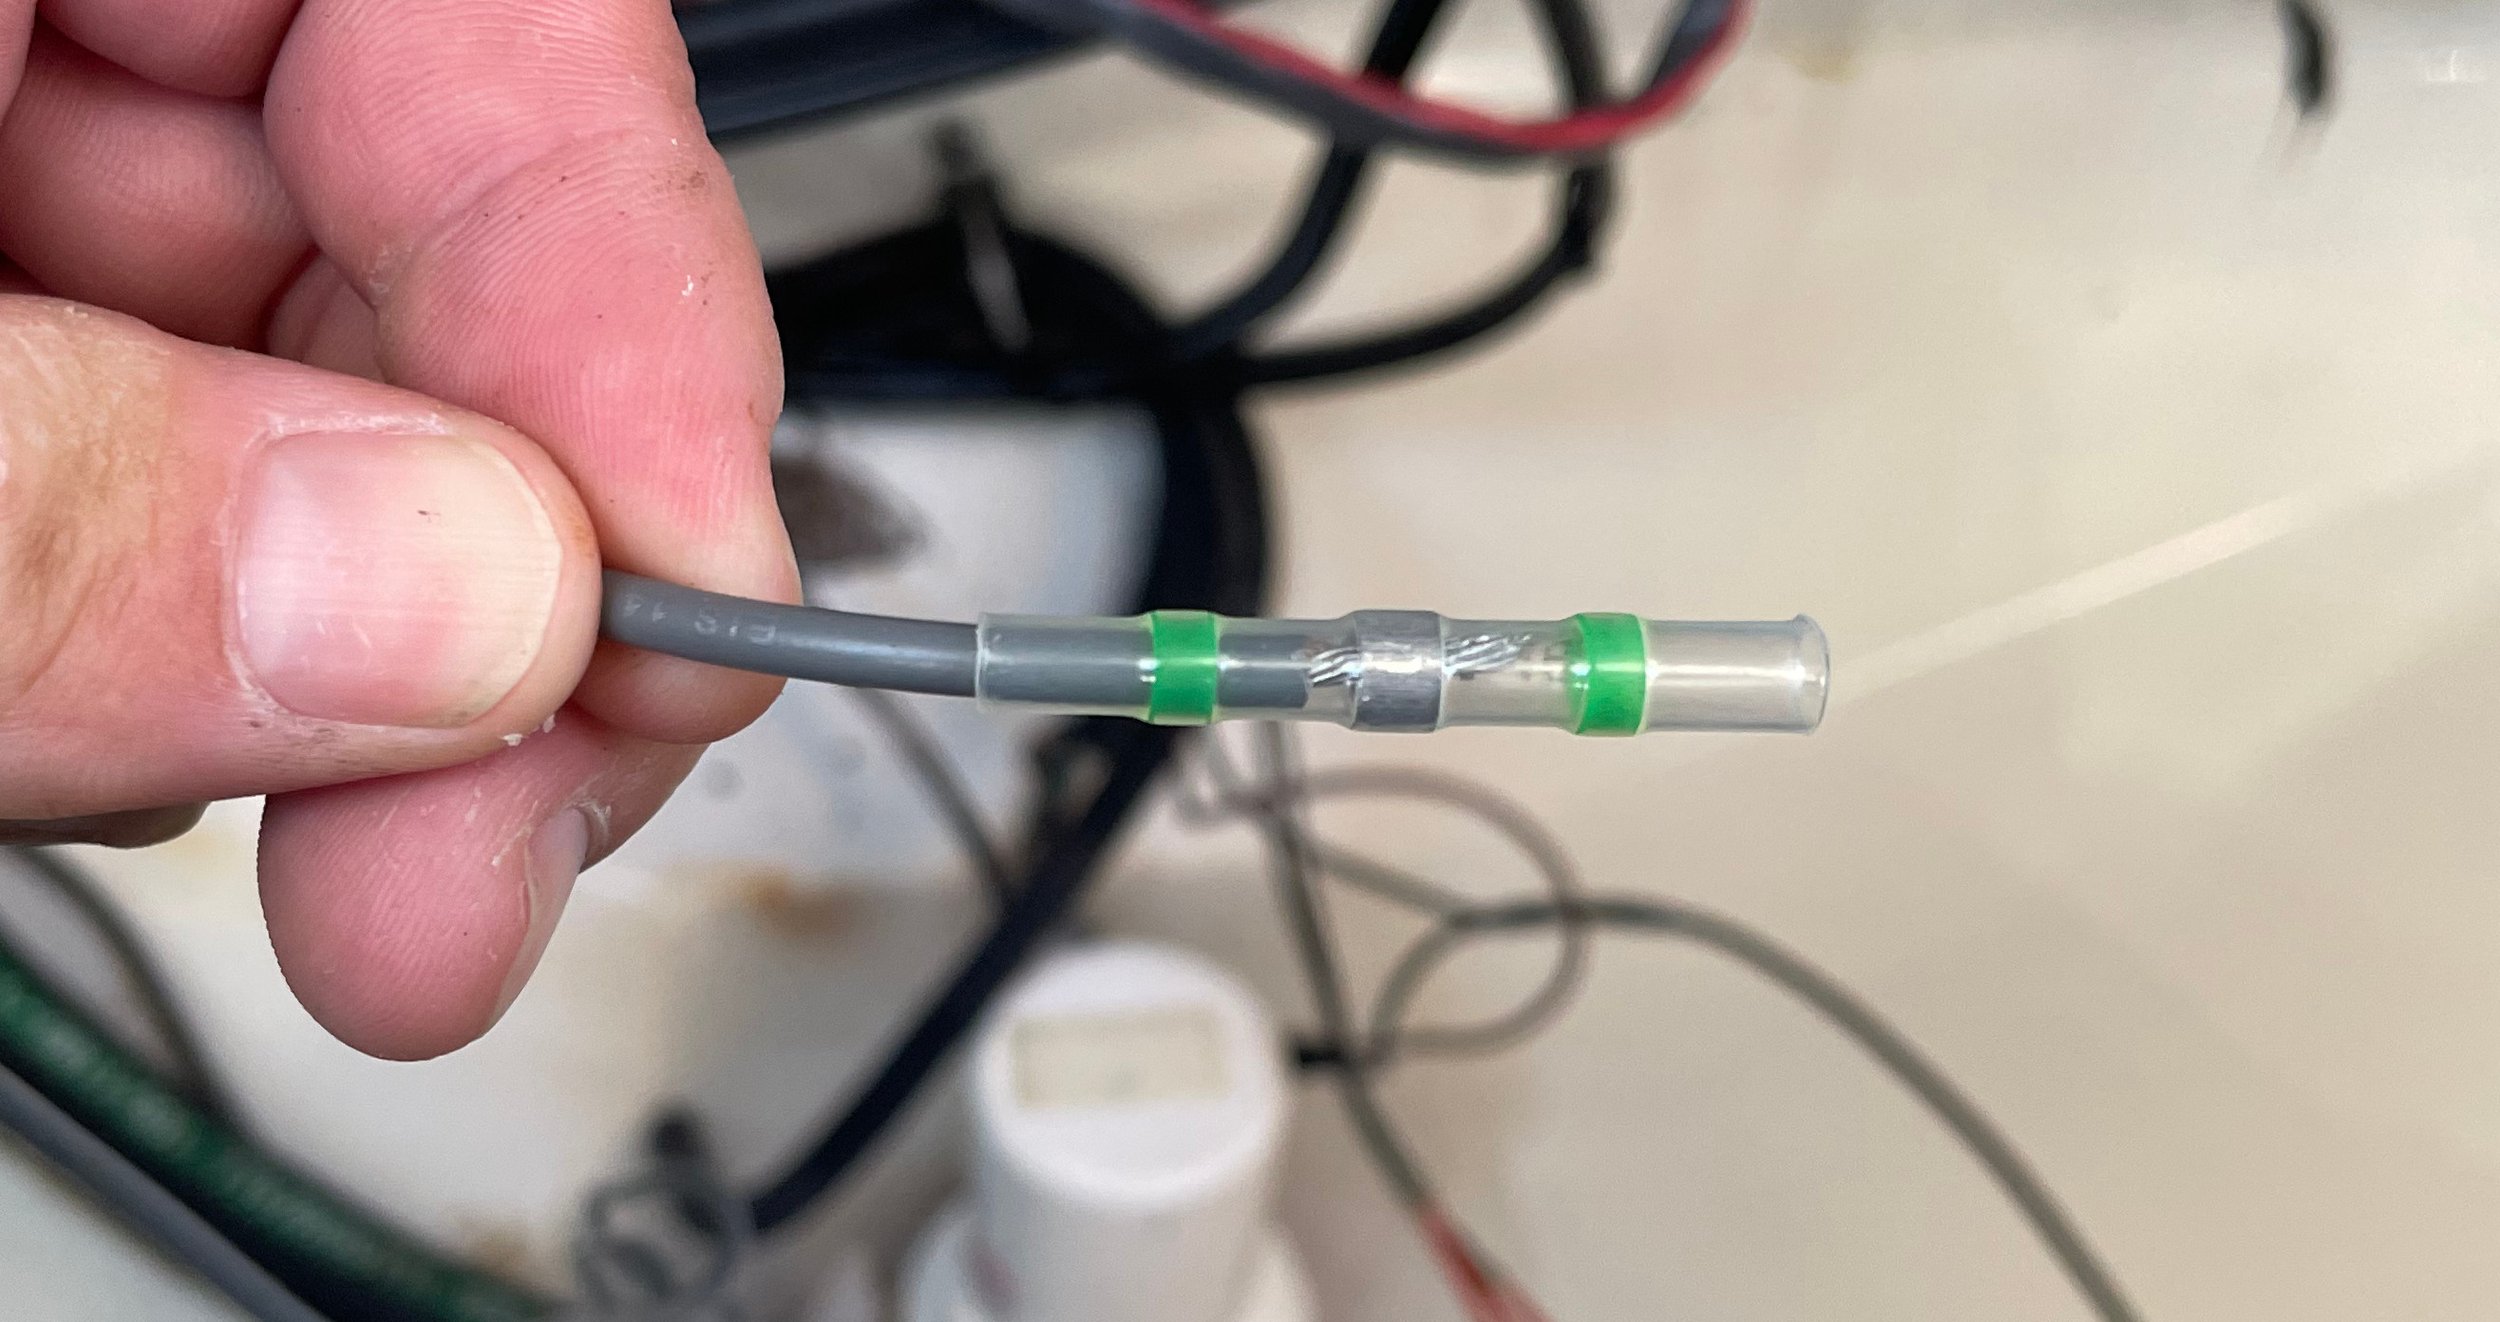
Splicing tips:
Strip 0.25” of all wire ends.
Pro tip! Place both desired ends into the butt connector, lightly compress the solder ring to hold the 2 wires in place with needle nose pliers. This avoids frustration of the ends falling out while you try to heat the splice.
Heat the solder ring (middle), adhesive rings (colored) and clear waterproof tubing with a heat shrink gun or lighter. Do not over heat, just enough to melt and seal.